
Morenikeji is a diligent bank manager handling an array of documents daily. Amidst her busy schedule, she often encounters the need to sign multiple agreements, contracts, and reports. Each document demands her attention, review, and signature—a process that consumes her valuable time.
Luckily Morenikeji had recently discovered Flowmono and its self-signing feature. With a few clicks, she uploaded the document onto the platform, easily accessible from her dashboard. This feature allowed her to add her digital signature swiftly and securely.
The self-signing process mirrored the traditional route of sending documents out for signatures, but this time, she was signing it herself. It served as her confirmation of having thoroughly reviewed and accepted the document’s terms, streamlining the otherwise tedious task.
By leveraging Flowmono’s self-signing feature, she eliminated the hassle of manual document handling. She could focus her time and energy on more critical aspects of her role as a bank manager, ensuring smoother operations and efficient handling of paperwork.
Here’s a step-by-step guide to self-signing on Flowmono:
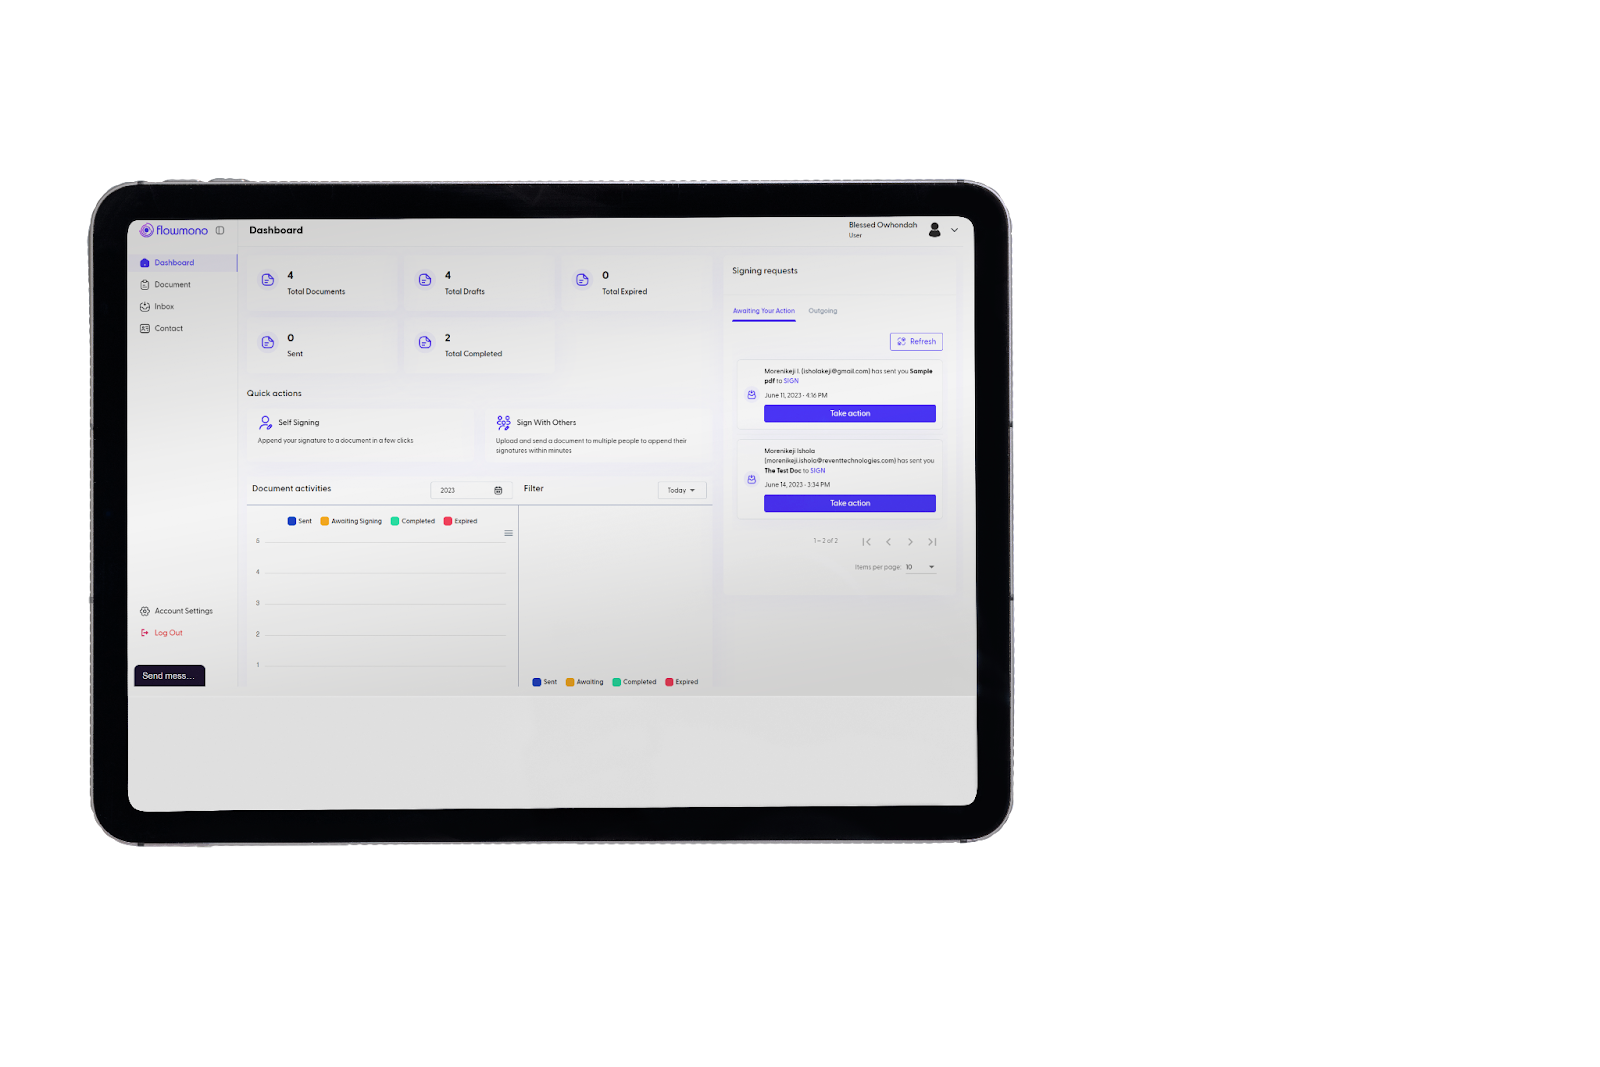
Step 1: Access Self-Signing from Dashboard
Upon logging into your Flowmono dashboard, head to the Quick Actions tab. There, you’ll find the option to self-sign documents conveniently placed for easy access.
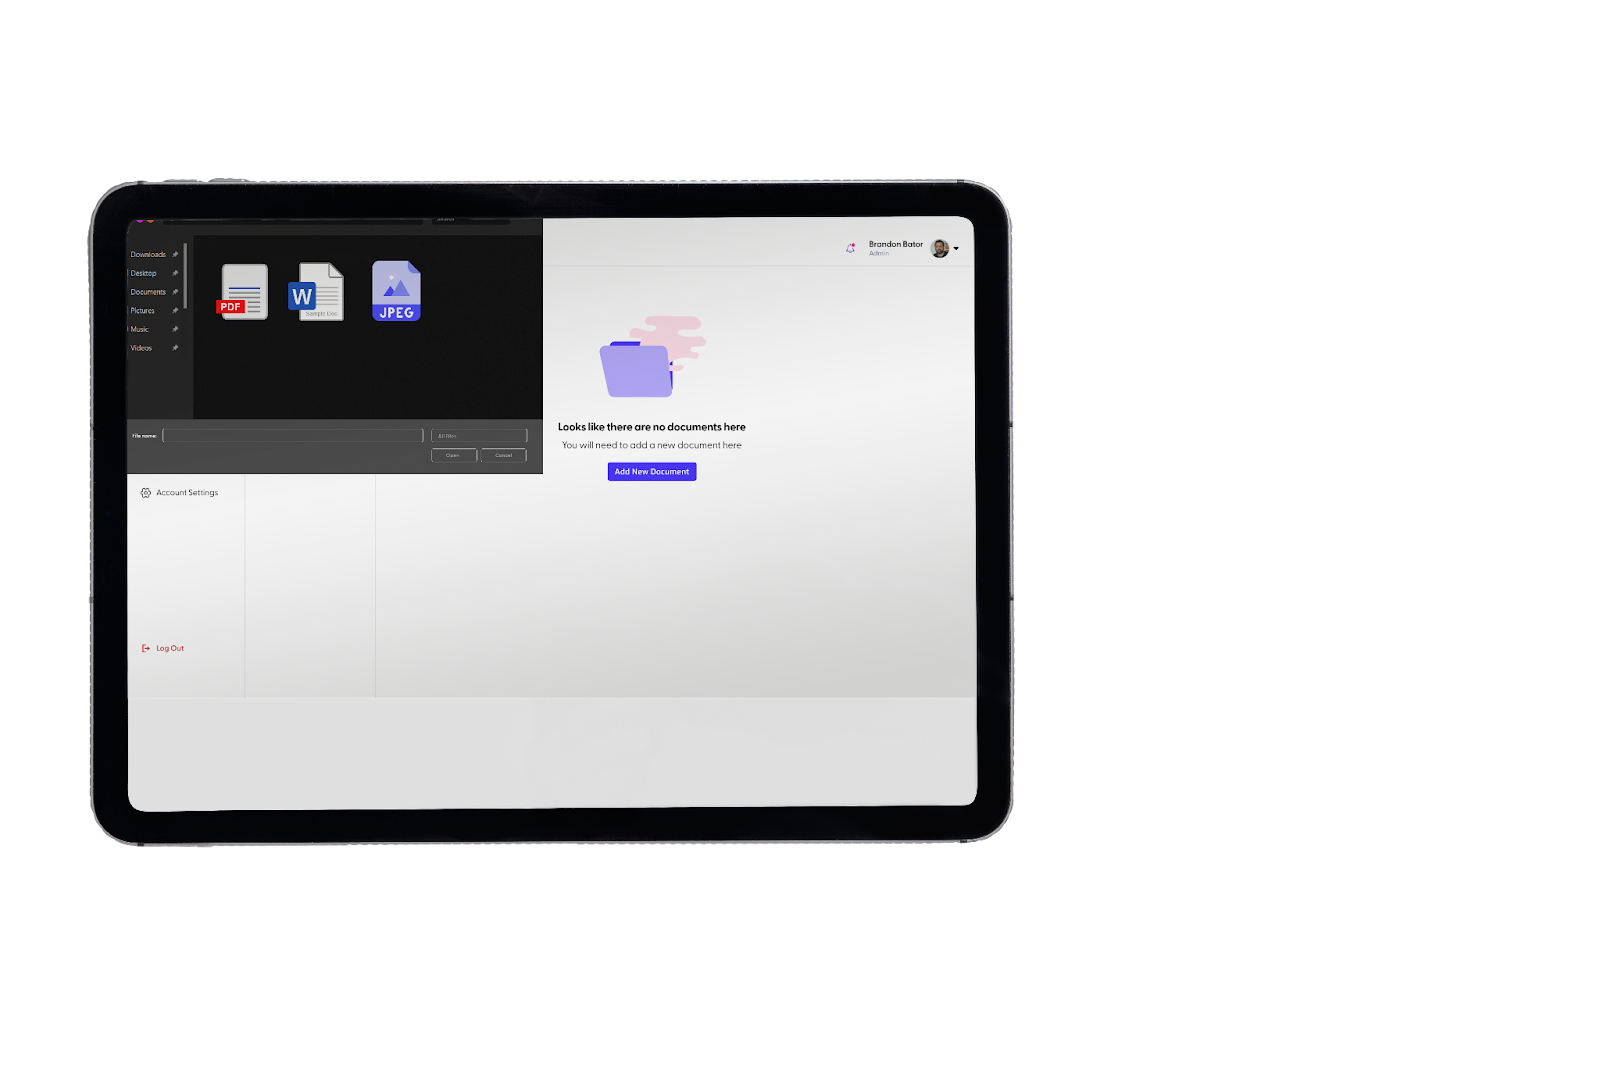
Select the document you want to sign, whether it’s in Word (.docx), PDF (.pdf), or image (.jpg, .jpeg, etc.) format. Upload it securely onto the platform.
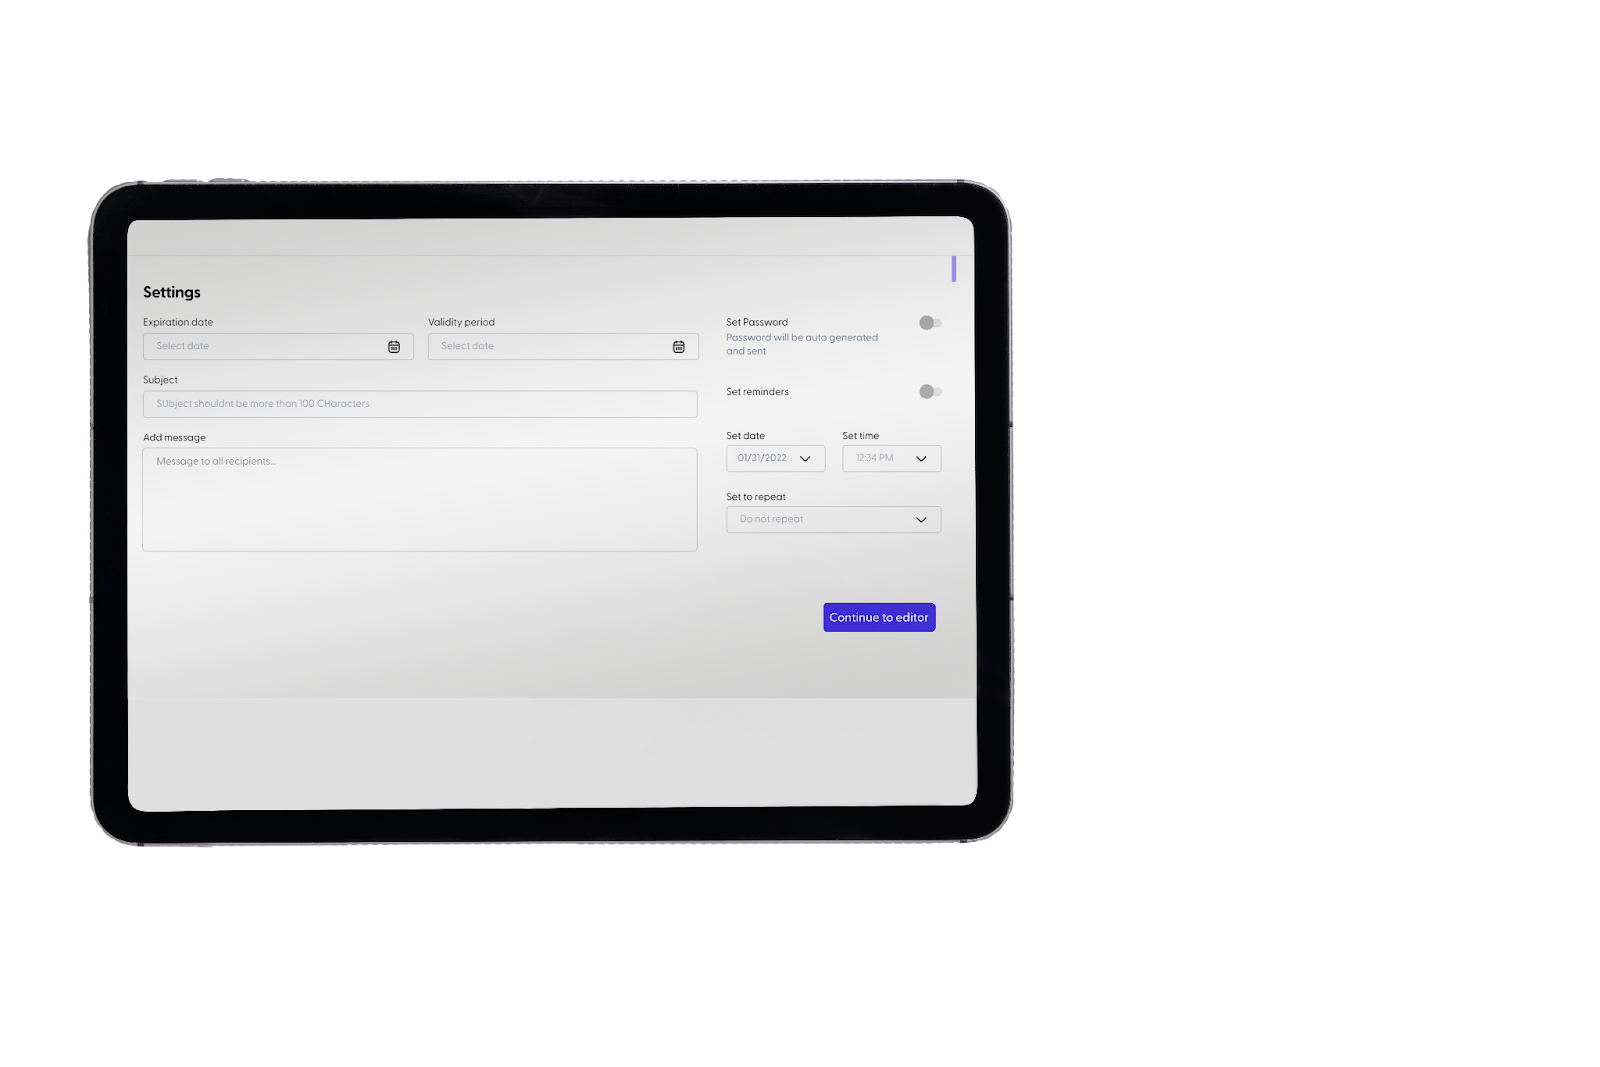
Once your document is uploaded, proceed to the document setup page by clicking ‘Continue to Editor.’ This step sets the stage for adding controls and elements to your document.
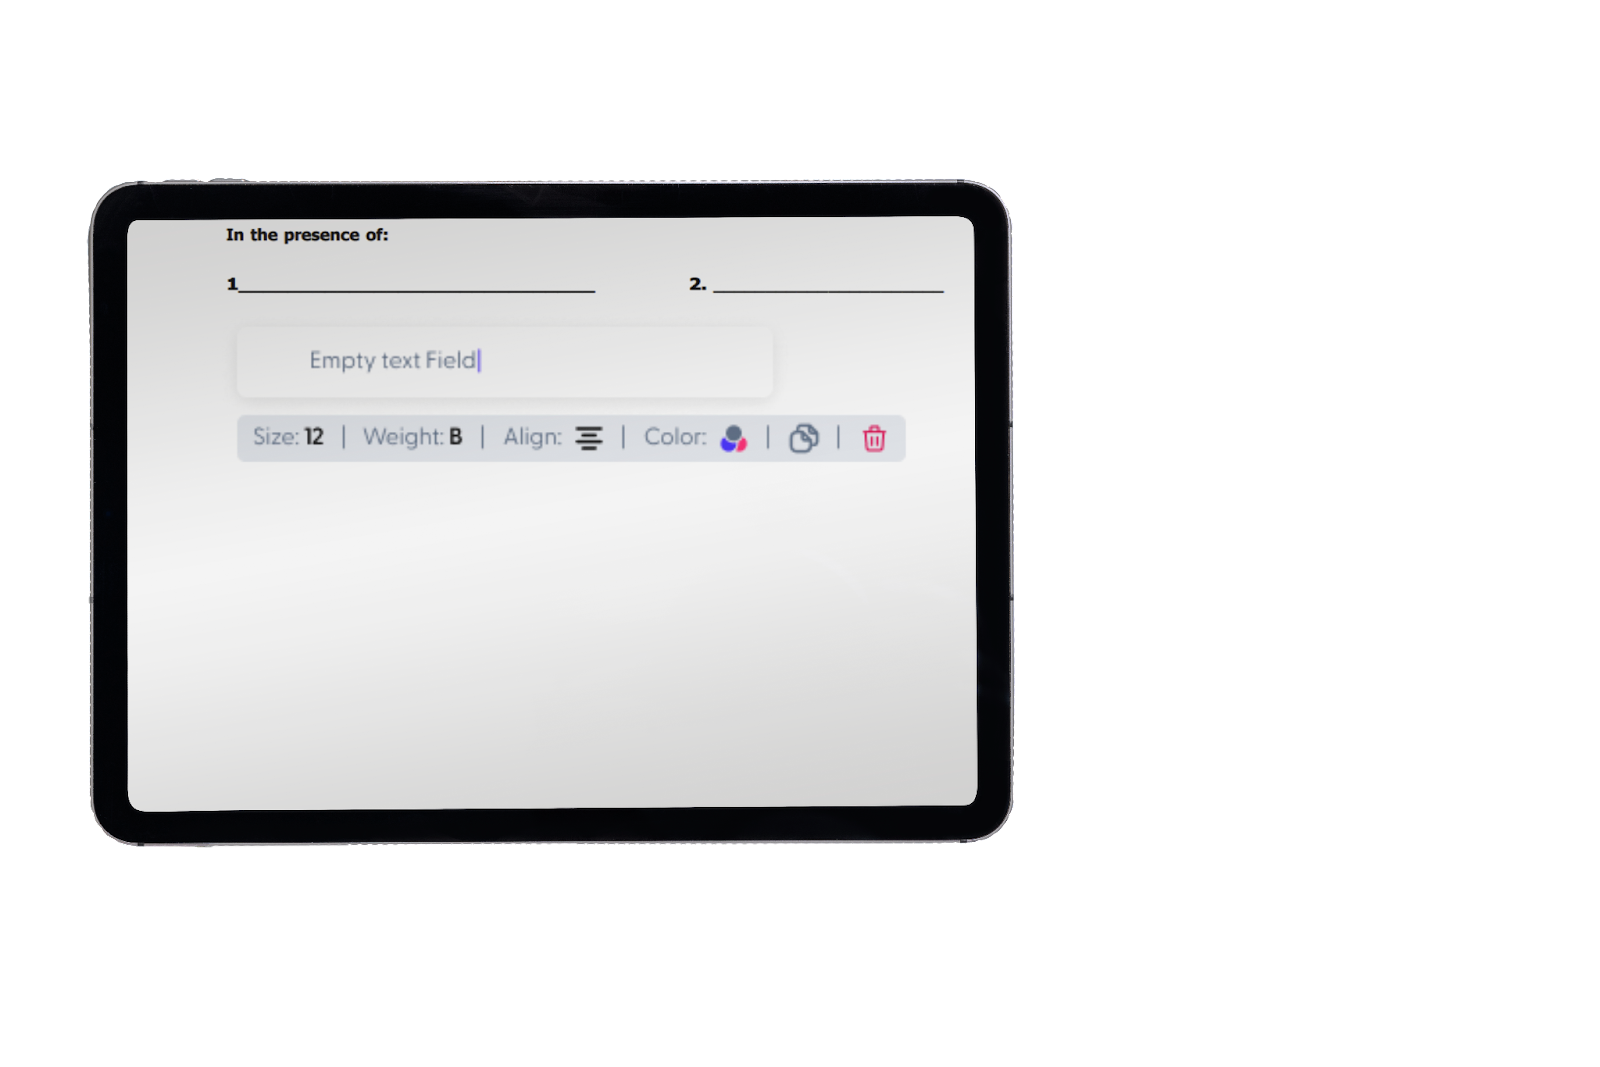
In the editor, it’s time to customize your document. Add controls like signature fields, text boxes, or other necessary elements to the document to enable the self-signing process.
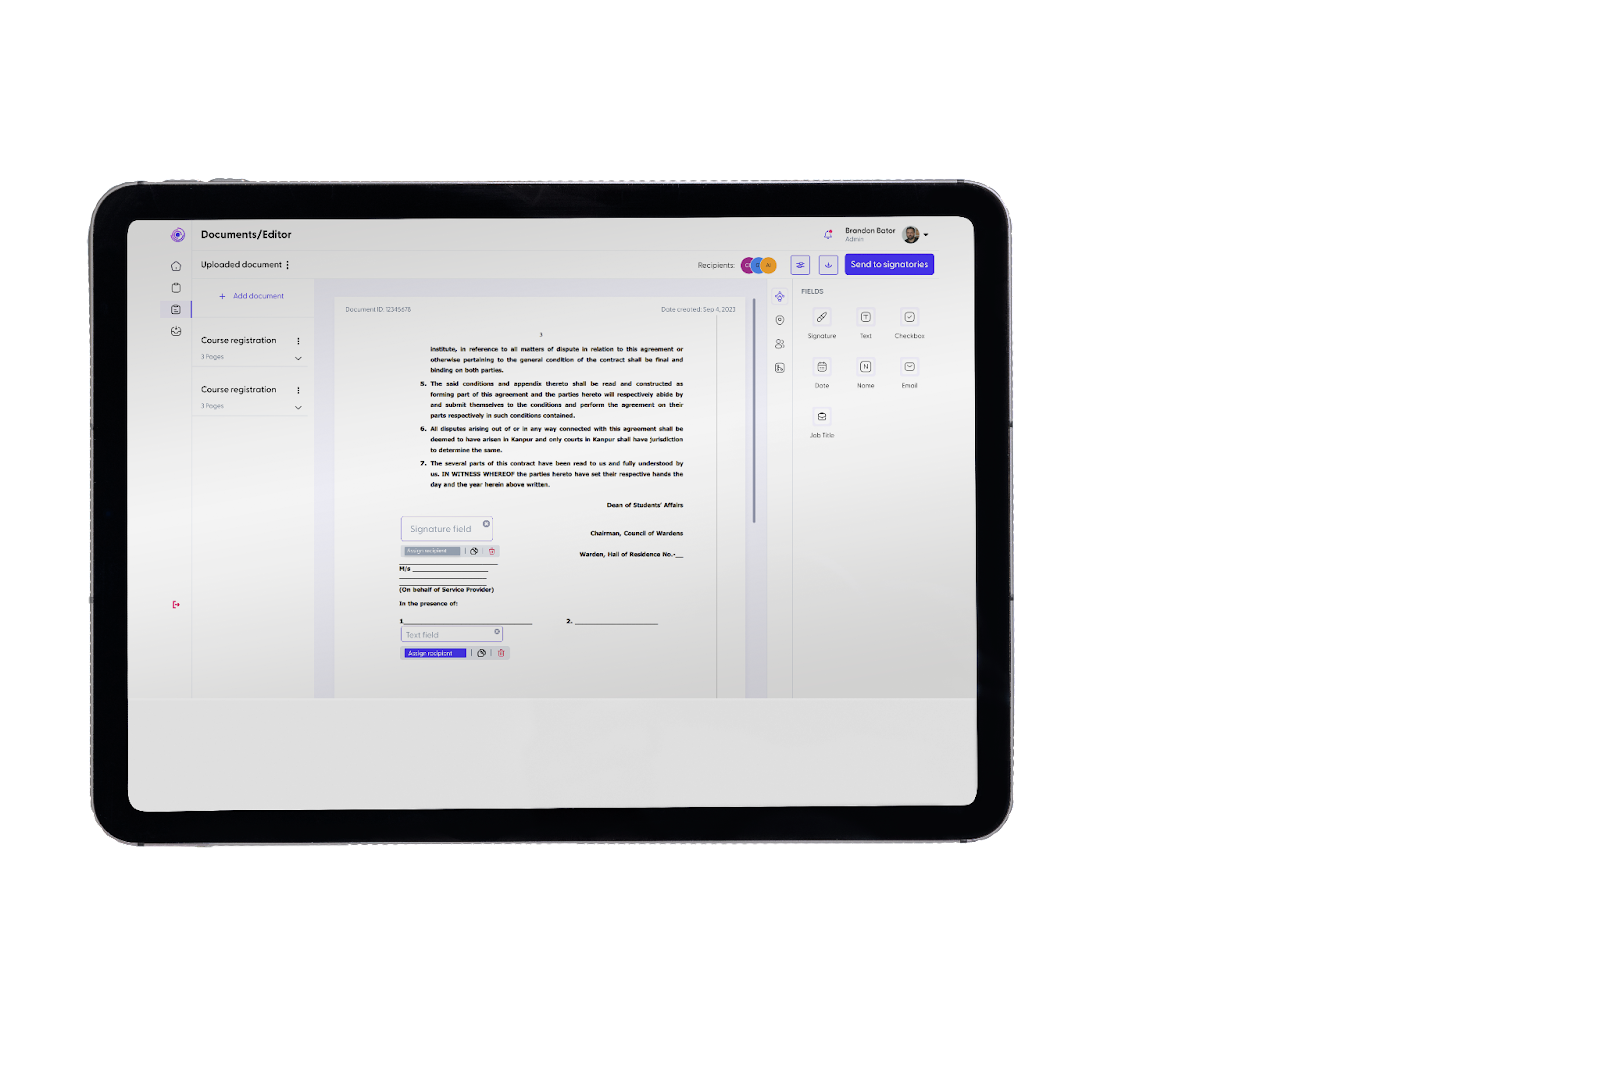
Step 5: Arranging and Adjusting Controls
Arrange and adjust the added controls to match your document’s layout and requirements. This might include adjusting font sizes, alignments, or positioning of elements for a polished look.
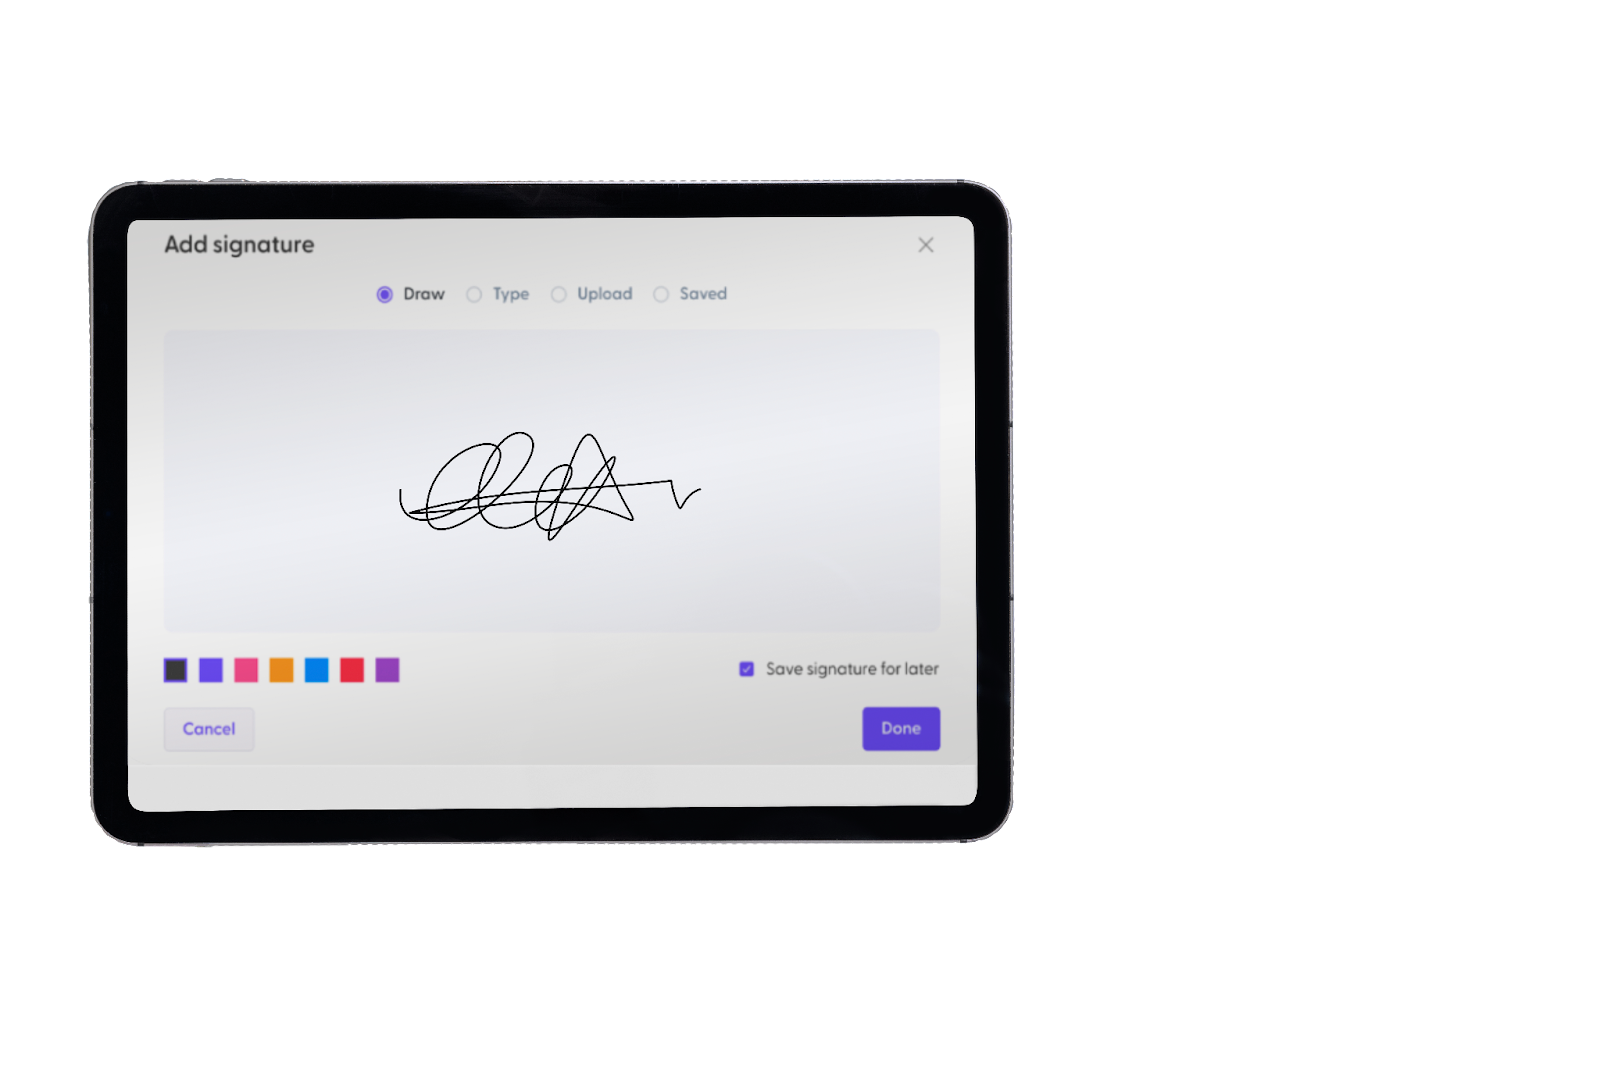
Step 6: Finalizing the Signature
Once everything is in place, it’s time to seal the deal! Double-click on the signing field to add your signature to the document securely. Congratulations, your document is now signed!
Benefits of Using Flowmono for Self-Signing
Security Features: Flowmono is NDPR-compliant and ICO certified. our documents are kept secure and encrypted, ensuring confidentiality.
Convenience and Time-saving: Say goodbye to the traditional printing, signing, and scanning routine.
Legally Binding: Documents signed on Flowmono hold legal weight, ensuring authenticity.
Flowmono’s self-signing feature is a game-changer for anyone seeking efficiency and convenience in handling documents. Just ask Morenikeji.
![]()